


This tutorial will cover setting up Parity, installing the necessary development tools, getting some Ethereum coins to test with, and ultimately writing a simple “hello world” smart contract. I’ll be using a Mac in this tutorial, but most of the commands and principles should carry over to Linux as well (sorry Windows). You will need the curl library installed as well.
Parity is an Ethereum client built using the Rust language that allows the user to connect to and interact with the Ethereum blockchain. We’re using it because it’s easy to setup, and has a lighter resource footprint than the official Ethereum client (go-ethereum). It also has a nice neat web-based UI to manage accounts and monitor parity’s status from.
To install the Parity client run the following commands from your terminal:
bash <(curl https://get.parity.io -Lk)
This should install Parity on your system in the local binaries directory. If this doesn’t work, you can also try installing via homebrew if you have it, using the following:
brew install parity
Now that Parity is installed, at the most basic level all we need to do to run it is:
parity
But we’re going to also need some other options to allow our frontend application, and the Mist browser among other things to connect to Parity down the road. First we want to tell Parity to use the Ropsten test network, one of the test networks used for Ethereum development. This will allow us to get some free coins and sync much faster than using the production blockchain. To enable this we use the command:
parity --chain=ropsten
Next we need to enable compatibility with go-ethereum (aka geth) so that our Mist client that contains the smart contract development IDE can connect to it by adding the following:
parity --chain=ropsten --geth
Then we are going enable websockets for Parity, allowing us to engage with their dashboard through our browser by adding the following:
parity --chain=ropsten --geth --force-ui
Then, to allow our localhost to connect to the Parity RPC server we need to add:
parity --chain=ropsten --geth --force-ui --jsonrpc-interface all --jsonrpc-hosts 127.0.0.1 --jsonrpc-cors http://127.0.0.1:8080
Finally we need to enable the appropriate RPC APIs to allow the frontend portion of our app to connect to Parity and access our smart contract:
parity --chain=ropsten --geth --force-ui --jsonrpc-interface all --jsonrpc-hosts 127.0.0.1 --jsonrpc-cors http://127.0.0.1:8080 --jsonrpc-apis web3,eth,rpc
I’ve found it easiest to stick this line of code inside a bash script so I don’t have to remember and hand type these options every time i want to start Parity. My bash script looks like so:
#!/bin/bash
parity --chain=ropsten --geth --force-ui --jsonrpc-interface all --jsonrpc-hosts 127.0.0.1 --jsonrpc-cors http://127.0.0.1:8080 --jsonrpc-apis web3,eth,rpc
At this point Parity should be up and running, although it may still be syncing with the rest of the Ropsten nodes on the network. You can check this by accessing the handy dashboard that comes with parity. Enter the address http://127.0.0.1:8180/ in your browser with parity running and you should see the dashboard. Mine looks like this after starting parity when it is still syncing with the network:
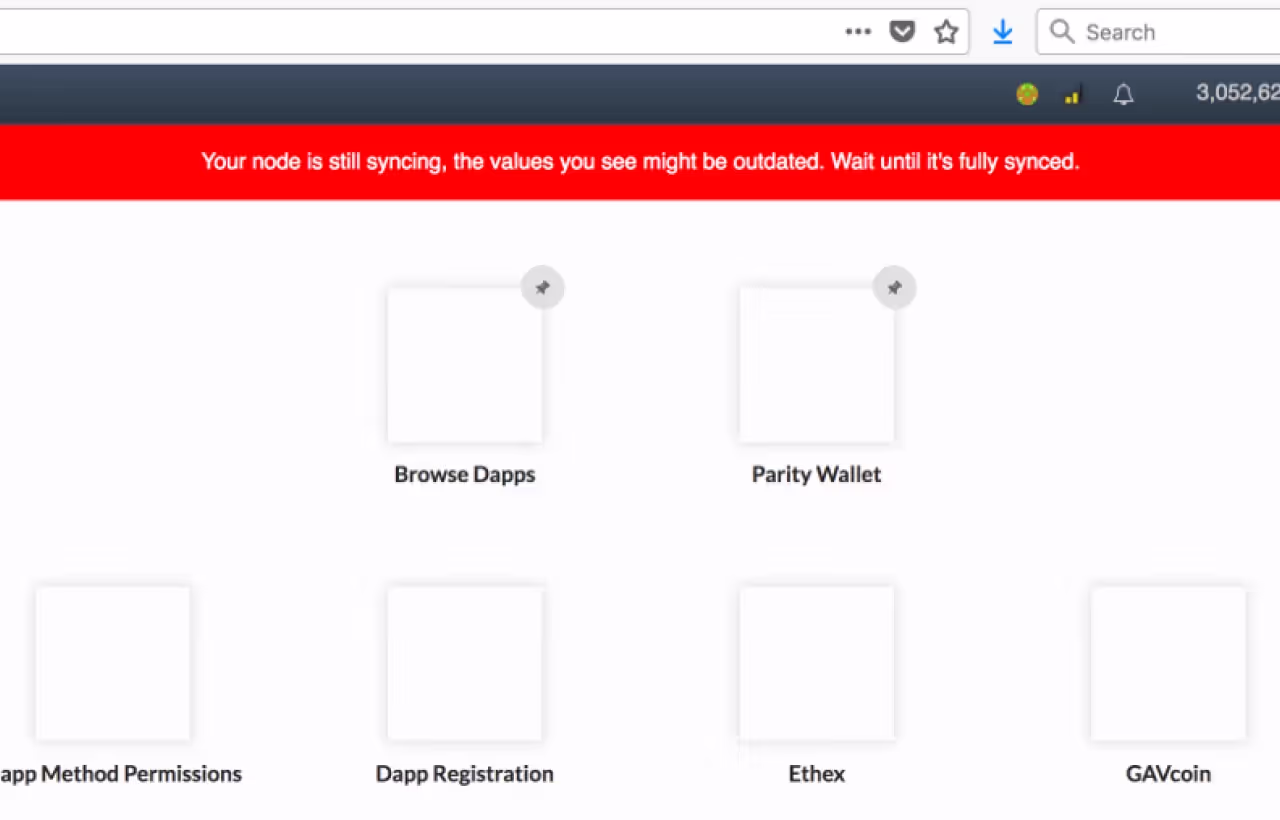
As soon as it’s in sync the red bar will disappear. While we wait for this to synchronize let’s install the Mist browser — a browser specifically designed for using and developing “dApps” (Ðapps, Dapps), short for “decentralized applications.” The only technical criteria for calling an application a decentralized application is that it be running on a decentralized network, meaning it could really encompass a wide variety of different stack components — different blockchains, different frontends, etc. In our case we’re using Ethereum as the decentralized network and the web3 library to interact with it. Mist is maintained by the official Ethereum development team, and explains why we needed to enable geth compatibility in Parity earlier (since geth is also maintained by the official development team). You can grab the appropriate copy of Mist for your OS here: official Mist browser releases.
Once Mist is installed on your system, launch it and follow the instructions. Mist is going to attempt to connect locally to your geth instance using RPC, so assuming you’ve set that all up correctly and are connected to the test network everything should pretty much click into place for this step. The first thing you’re going to want to do is set up a wallet to contain your ETH coins. In Mist, Click on the green icon with 3 lines on it shown in the image below and select from the menu “wallets.” Click the button that says “Add Account” and follow the instructions — remember not to lose this information as there is no way to recover it if you do.
Now let’s procure some ETH so that we can afford to publish the dApp we’re about to build. At the time of writing this, there are a few reliable “Ether faucets” for the Ropsten network. Ether faucets will give you ETH for the Ropsten network for free just by plugging in your wallet address — your wallet address can be found on your wallets page in Mist, the addresses always start with a “0x” followed by a string of letters and numbers (a hash). Here’s a few faucets that I’ve used:
- faucet.ropsten.be
- faucet.bitfwd.xyz
- metamask.io
MetaMask requires a browser plugin to work, but you can get quite a few coins out of it, as opposed to the other aforementioned faucets that have a stricter rate limit. You won’t need much ETH to test with — so don’t be greedy — but if you need more you can always create new wallets and request again.
Now that you hopefully have some ETH in your wallet, let’s build a simple dApp. From Mist, go to Develop > Open Remix IDE and this will launch the official Ethereum Solidity IDE tool. In the upper right corner of the IDE there should be a + icon, click the icon to create a new solidity file, and call it whatever you like (I named mine hello.sol).
First we need to tell solidity which version of the interpreter to use — at the time of writing this the stable version is the 0.4.x branch, so enter the following lines of code on the first line:
pragma solidity ^0.4.0
This just says we will allow any Solidity version in the 0.4.x branch or higher. Next let’s define the name of our smart contract — in familiar terms a contract is going to look a lot like a objective class.
contract Hello {
}
Next let’s define a publicly readable variable of type unsigned integer and initialize it to 0.
contract Hello {
uint public myNumber = 0;
}
The type uint in solidity can also have a number next to it denoting the total capacity of the variable in bits in increments of 8 up to 256 (uint8, uint16 … uint256.) By default it will be set to a uint256 if no number is specified (as in our example above.) Now let’s create a function to assign a different value to the variable myNumber.
contract Hello {
function chooseNumber(uint _myNumber) {
myNumber = _myNumber;
}
uint public myNumber = 0;
}
Notice that there is no “self” or “this” reference made when assigning the local value of _myNumber to myNumber, as you would tend to expect in most object oriented languages. In simple terms, the keyword “this” means something different in solidity, it’s a reference to the contract address and as such what it returns is something immutable. Remember that manipulating contract-level variables must be done directly, so avoid naming conflicts in your local variables.
This should be enough to demonstrate the most basic principles of a smart contract, so let’s compile it now. In the right-hand margin of Remix, select the “Compile” tab and then hit the button labeled “Start to Compile.”
Next, select the tab labeled “run” and select the following options as shown below:
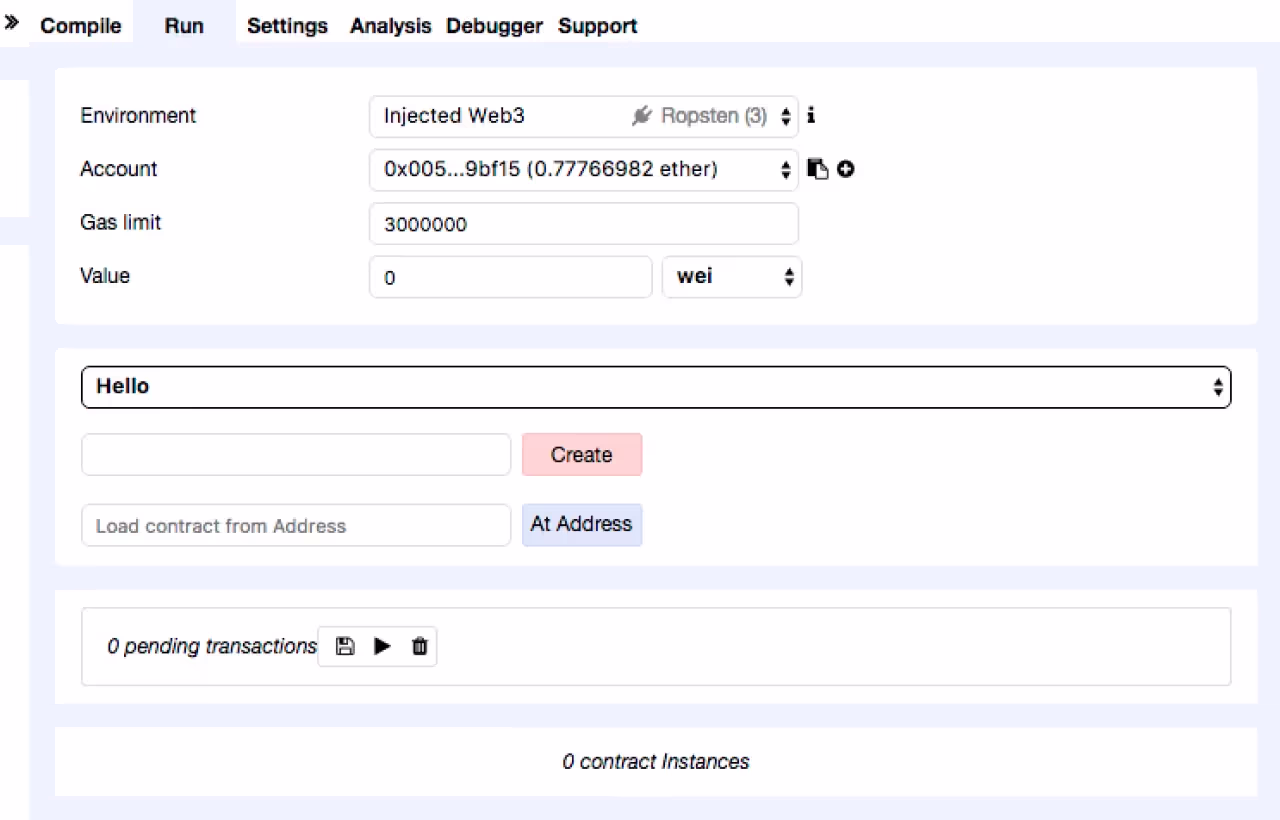
Next, hit the red button labeled “Create.” This should bring up a dialog asking for your wallet password like so:
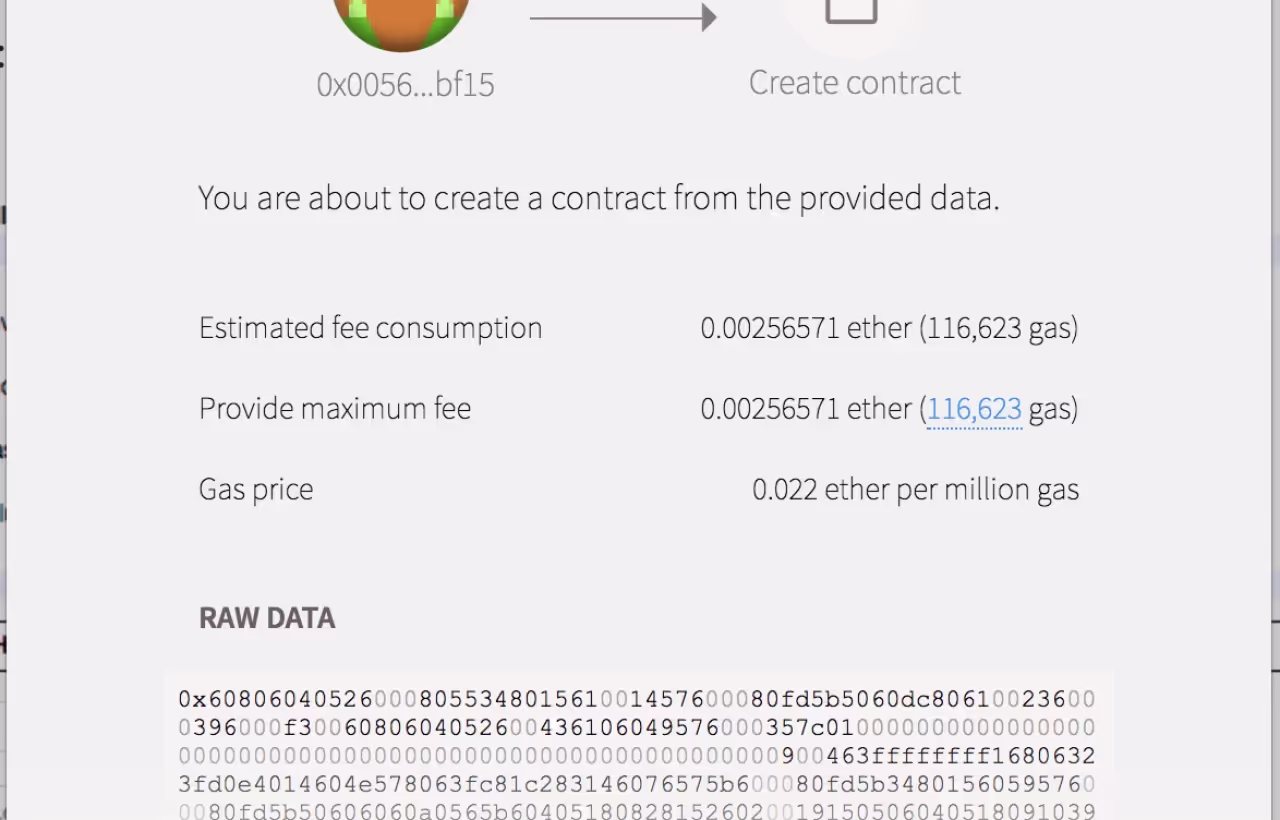
Upon successful entry of your password, the transaction containing our smart contract will be sent to the blockchain to be processed. Once it has successfully been processed, you should see a new pane in the “Run” tab from which we created the contract, it should say “Hello at <address>”. We can use this neat little display as a very, very simple way to interact and test our contract. First, click on the button labeled “myNumber” and it should show you the current value of the variable in this contract, it should be 0 right now.
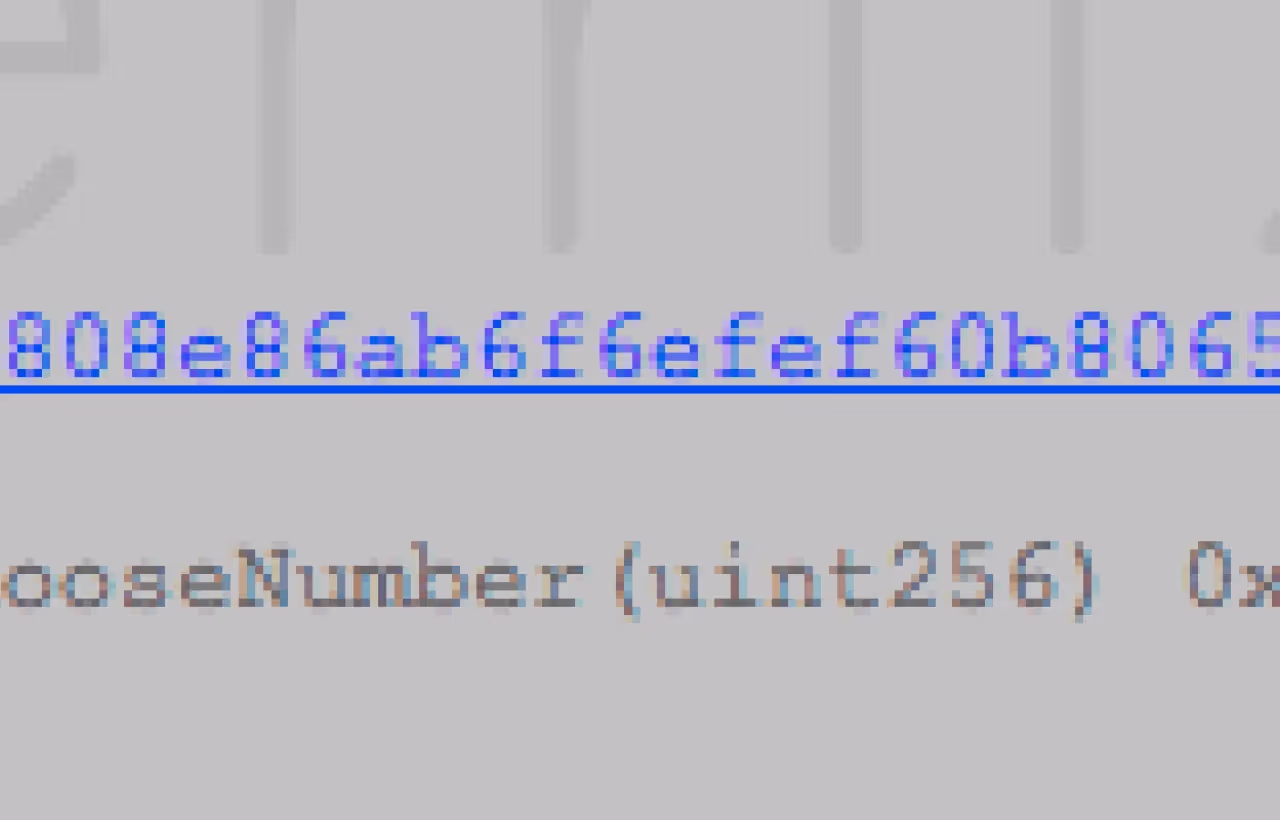
Next, let’s try to change that value. To the right of the red button “chooseNumber” enter a 256 bit value, let’s just say 999 for now. Click the red button “chooseNumber” and now and you will be prompted to enter your password for your Ethereum wallet again. Any transaction on the blockchain that alters the state of a contract will require a gas fee, and thus will require you to enter your wallet password to authorize.
After clicking “chooseNumber” wait a bit for the transaction to be processed. The window pane along the bottom of Remix will tell you once the transaction has been processed, basically once the “Details” button becomes visible a result has been received, see below:
Now let’s see if the variable has changed to the value we assigned it. Click on the blue “myNumber” button again and it should show the value 999 that we assigned.
Viola! We have successfully added a transaction to the Ethereum blockchain and changed the state of our contract.
That’s it for this tutorial, in the next post we will tackle some of the more complicated things smart contracts can do such as payable functions, modifiers, and a bunch more! Happy coding!
