


Note: this technique works for AWS Lamba’s Python 3.7 runtime at the time of the article creation.
This tutorial will show how to create data visualizations with the AWS Lambda service and store them in an S3 Bucket. We will be using Python’s Pandas, Numpy, and Matplotlib libraries (along with a few dependencies) to create our images.
1. Setup an S3 Bucket.
I called mine mholmes-data-visualizations.
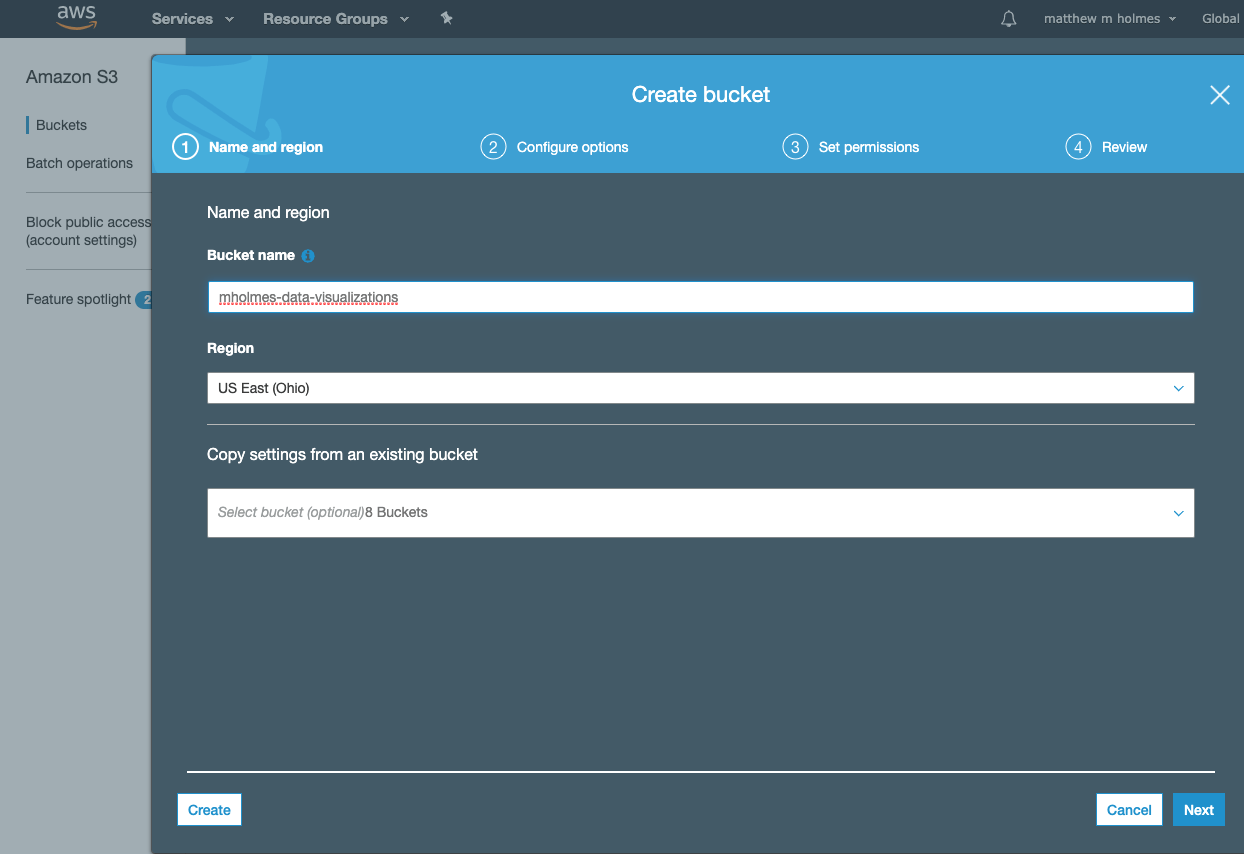
After setting the name, hit next until your bucket is created. Once the bucket is created you will need to open the Permissions tab and turn off the Block public access settings. Then hit save.

2. Create a role
We will need to create a role that will give our Lambda function permission to save files to S3. To do this:
- Visit the IAM service and select Roles from the left-hand navigation.
- Create a new role.
- Select Lambda and hit Next.
- Search for S3 and select AmazonS3FullAccess and hit Next again.
- Give it some tags (this step is optional) and hit Next one more time.
- Give your role a name. I named mine LambdaS3FullAccess.
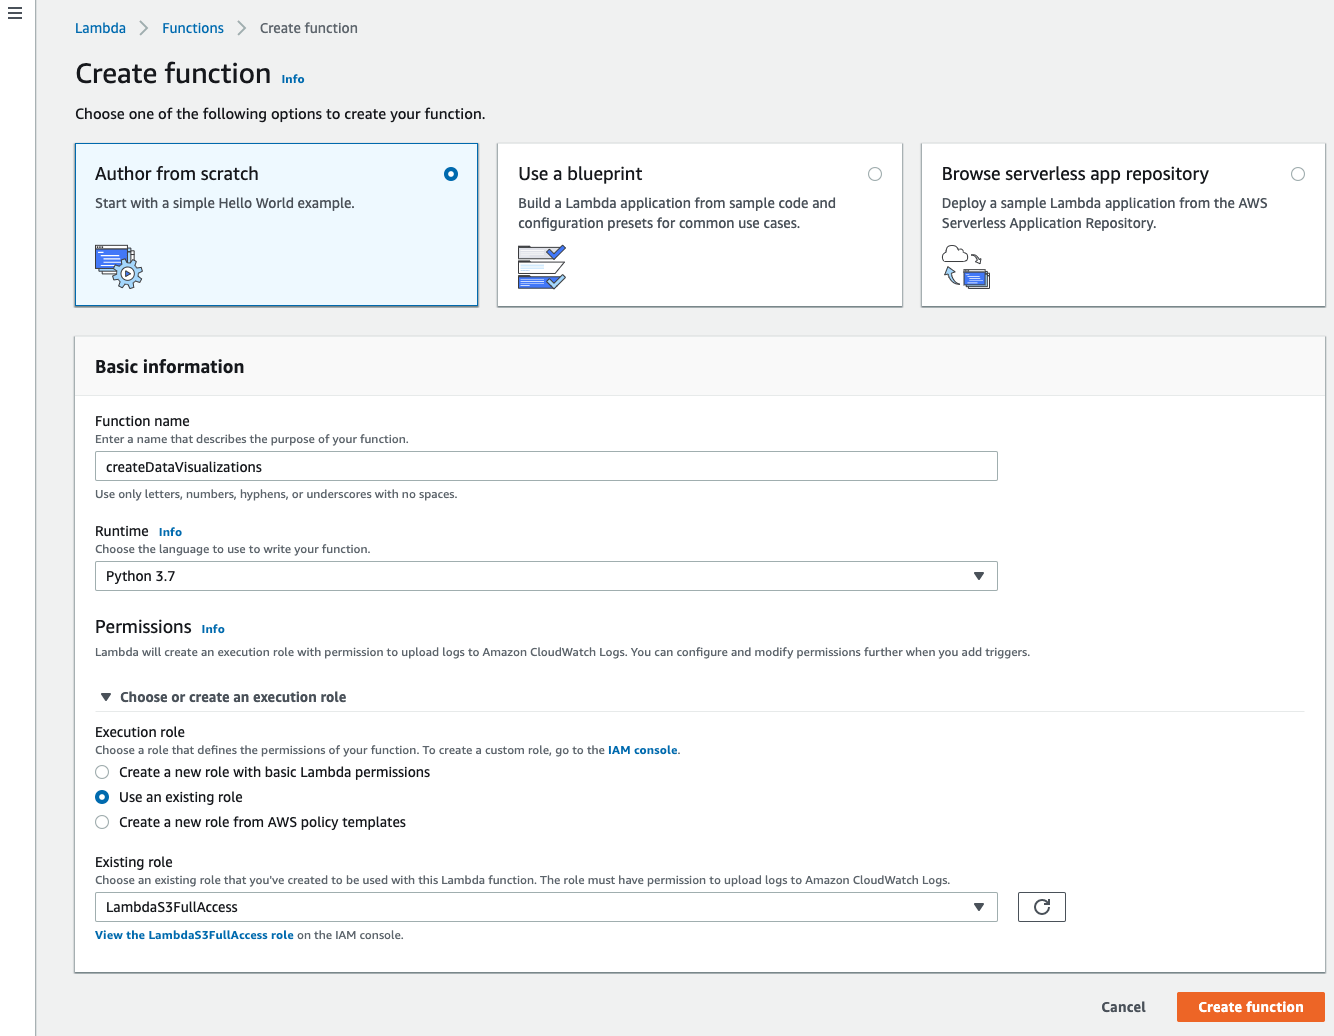
3. Setup Lamda Function
Navigate to the Lambda service and hit Create function. Leave it on Author from scratch, give it a name, and select Python 3.7 for your runtime. You can also attach the role you just created from this screen.
4. Create code package locally
Start by creating a new directory. You can name it anything. Inside your new directory, create another directory called python to hold your library.
Then we’ll need to pull in the data visualization libraries and their dependencies. Unfortunately, we cannot use PIP to install everything we need (this is because Lambda uses Amazon Linux OS). However, we can find pre-compiled versions of the libraries we need on The Python Package Index. We need to find the packages with manylinux and cp37 in the name, download them, unzip them, move the packages to our python directory, and delete what we don’t need.
I included a shell script to do this work for us (you may need to install wget if it isn’t installed already). Also, make sure your python environment is set to 3.7 before running this.
Just add this file to your directory and run: $ sh setup.sh
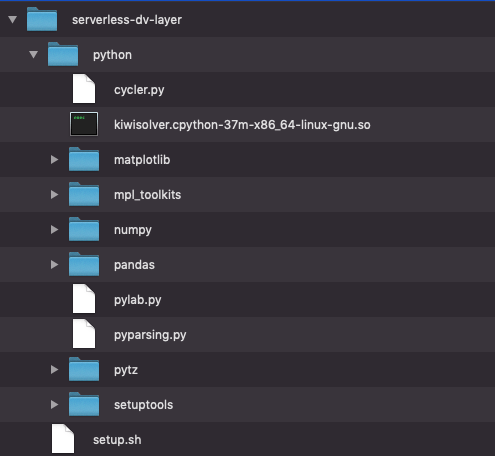
After running the shell script, your directory structure should look something like this.
Then zip the python directory by running this: $ zip -r data_vis_layer.zip ./python
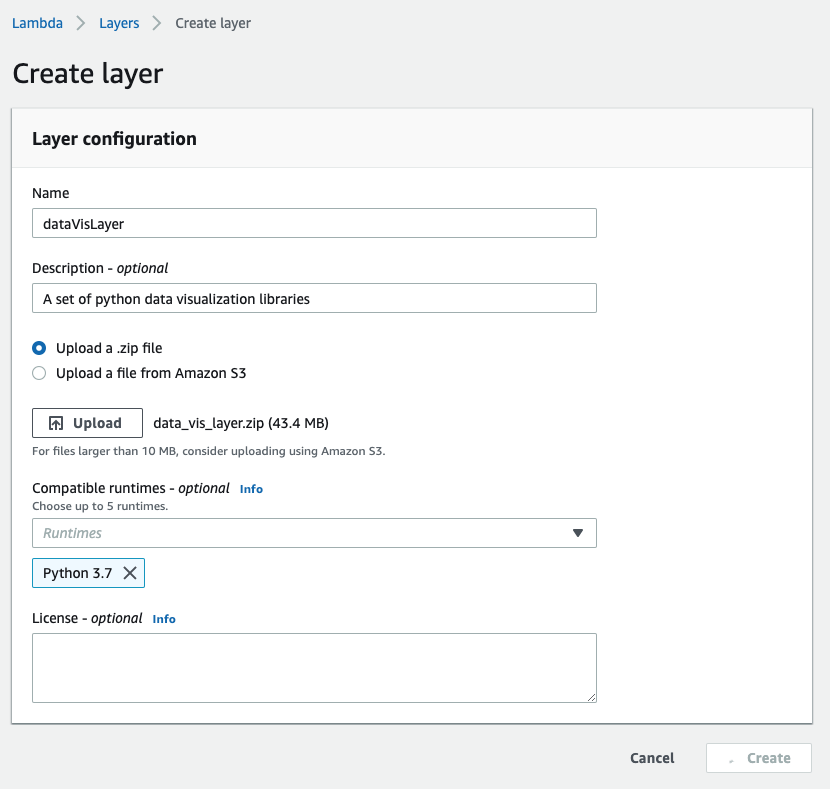
5. Add Lambda Layers
Now back to the AWS console. From the Lambda service, click the Layers link on the left-hand side navigation and create a new layer.
Now return back to your Lambda function and attach your layer to your function. Click the Layers tab, and select Add a layer.
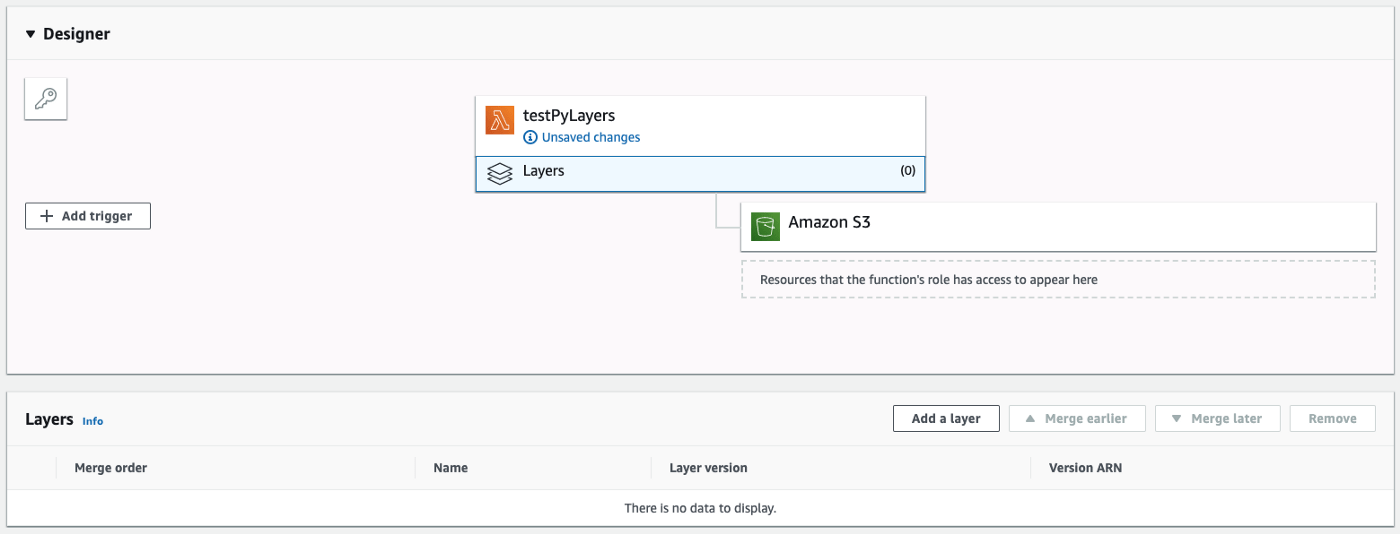
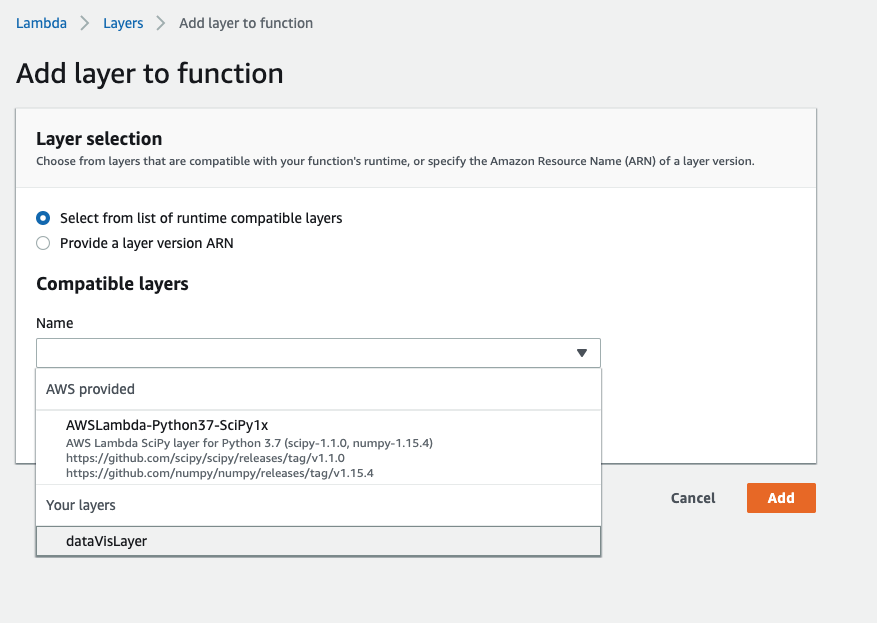
On the next screen, pick your layer from the dropdown and select Add.
Inside the Function code panel, copy the following into the inline editor:
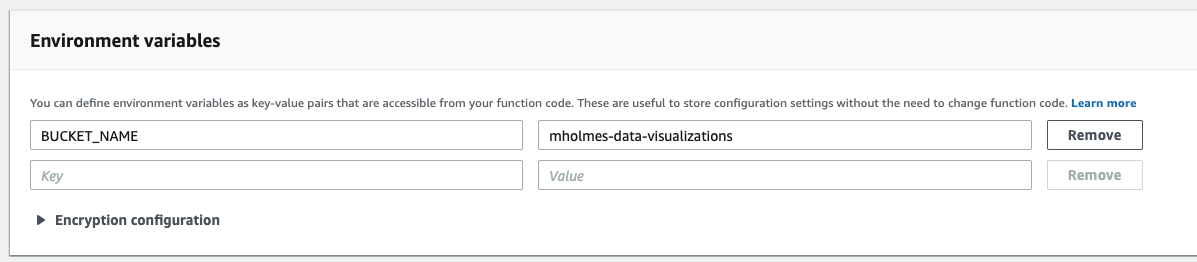
6. Set your S3 bucket into your environment variables
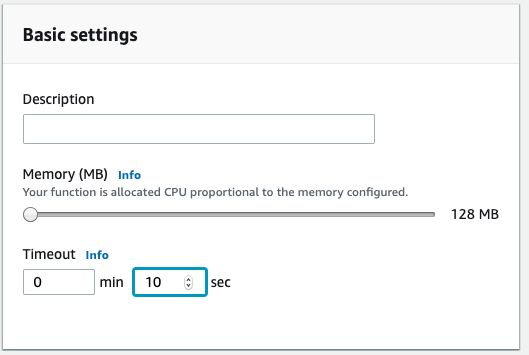
And go ahead and bump up the execution timeout to 10 sec.
Save and that’s it! You can trigger your function with the test button. The first time you try to test it will prompt you for some information. Just give it a name and hit Create (the inputs don’t matter). Once you have a test saved, the next time you press the test button you should get a result like this:

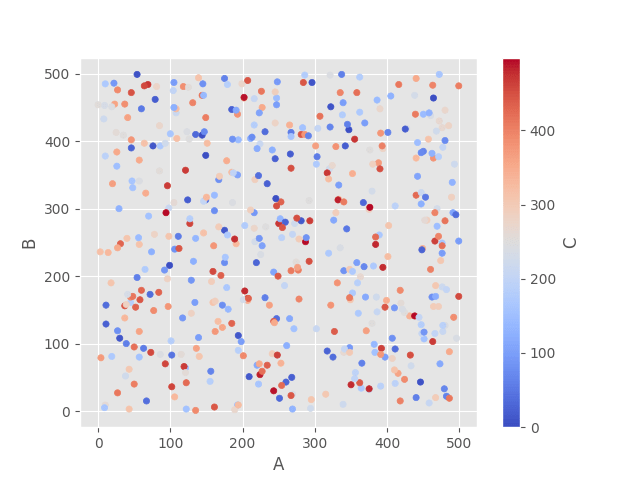
Now if you visit your S3 bucket you should see a new item. Your new image should look something like this:
That’s all there is to it! If you have any questions or feedback feel free to drop me a line in the comments. Happy coding!
